- Carpet Removal
- |
- Carpet Store
How to Remove Old Carpet Before a New Installation
May 6, 2025

Aloha! As Oahu’s established flooring experts for nearly half a century, the team at American Floor & Home has guided countless homeowners through the exciting process of transforming their living spaces. One crucial step in achieving that stunning new look is the removal of your old, worn-out carpet. While it might seem like a daunting task, with the right preparation and a little elbow grease, you can certainly tackle this yourself before our professional flooring company installs your beautiful new floors.
Think of removing your old carpet as preparing the canvas for a masterpiece. A clean, smooth subfloor is essential for a flawless and long-lasting new flooring installation.
Gather your tools:
Before you begin tearing away, gather the necessary tools to make the job efficient and safe. You’ll likely need:
- Utility Knife: For cutting the old carpet into manageable strips. Make sure you have plenty of extra blades as they can dull quickly.
- Pry Bar or Tack Strip Remover: To help lift the carpet from the tack strips around the perimeter of the room.
- Gloves: To protect your hands from sharp tacks and debris.
- Safety Glasses: Essential eye protection from flying debris and dust.
- Knee Pads: Trust us, your knees will thank you for this, especially for larger rooms.
- Heavy-Duty Trash Bags or a Dumpster: For disposing of the old carpet and padding. Consider the volume of carpet you’ll be removing.
- Shop Vacuum: For cleaning up dust, dirt, and any stray staples or tacks.
-
Optional but helpful:
- Floor Scraper: For removing any stubborn adhesive or padding remnants.
- Staple/Tack Puller: A specialized tool that can make removing these fasteners easier.
Preparation is key:
Before you start cutting, take a few moments to prepare the room:
- Clear the Room: Remove all furniture, décor, and any other items from the room. This will give you a clear and safe workspace.
- Ventilate the Area: Opening windows and doors will help with ventilation and reduce dust buildup. Consider wearing a dust mask if you are sensitive to dust or have allergies.
- Plan Your Cutting Strategy: Think about how you will cut the carpet into manageable strips. Consider the size of your trash bags or the capacity of your disposal method. Cutting in parallel lines, about 2-3 feet wide, is generally a good approach.
The removal process: Step-by-step
Now for the main event! Follow these steps carefully:
- Start in a Corner: Choose a corner of the room to begin. Using your utility knife, carefully cut a starting strip of carpet, about 2-3 feet wide, along the entire length of the wall. Be cautious not to cut into the subfloor.
- Loosen the Carpet: Once you have your first strip cut, grip the edge and gently pull upwards. You’ll likely encounter resistance from the tack strips along the walls. Use your pry bar or tack strip remover to carefully lift the carpet from these strips. Work your way along the perimeter of the room, detaching the carpet as you go.
- Cut into Strips: Continue cutting the carpet into manageable strips. This will make it easier to roll up and carry out.
- Roll and Secure: As you cut the strips, roll them up tightly. You can use duct tape or rope to secure the rolls, making them easier to handle and transport.
- Remove the Padding: Once the carpet is removed, you’ll likely have a layer of padding underneath. This will also need to be removed. It might come up in large pieces, or it might tear into smaller sections. Use your utility knife to cut it into manageable sizes if necessary.
- Address the Tack Strips: The tack strips around the perimeter of the room are usually nailed or stapled to the subfloor. Use your pry bar to carefully lift them. Be mindful of the sharp tacks. Dispose of them safely.
- Remove Staples and Tacks: Inspect the subfloor for any remaining staples or tacks from the carpet and padding. Use a staple or tack puller to remove them to create a smooth surface.
- Clean the Subfloor: Once everything is removed, thoroughly vacuum the subfloor to get rid of dust, dirt, and any remaining debris. Use your floor scraper to remove any stubborn adhesive or padding remnants. A clean subfloor is crucial for the proper installation of your new flooring.
Safety first!
Throughout this process, remember to prioritize safety:
- Always wear gloves and safety glasses.
- Be careful when using the utility knife and pry bar. Cut away from yourself and keep your fingers clear.
- Lift with your legs, not your back, when moving the rolled-up carpet and padding.
- Dispose of the old carpet, padding, and tack strips responsibly. Check your local regulations for proper disposal methods.
Removing your old carpet might take some time and effort, but by following these steps, you’ll be well on your way to a fresh, new look for your Oahu home. And when you’re ready for the beautiful new flooring to be expertly installed, remember your trusted local flooring company.
Ready for the next step in your home transformation?
At American Floor & Home, we’ve been serving the flooring needs of Honolulu, Kaneohe, Kailua, Mililani, and Aiea since 1974. As your established local experts, we offer a wide selection of high-quality flooring options and provide professional in-house installation. Now also licensed general contractors, we’re proud to offer top-to-bottom kitchen and bath remodeling services, making us your true one-stop shop for home renovation on Oahu. Visit our showrooms in Honolulu and Kapolei or contact us today to discuss your flooring and home remodeling needs!
You Might Also Like
-
- Carpet Store
- Nylon Carpet
September 15, 2025
Nylon Carpet Explained: Durability, Stain Resistance, and Best Uses
-
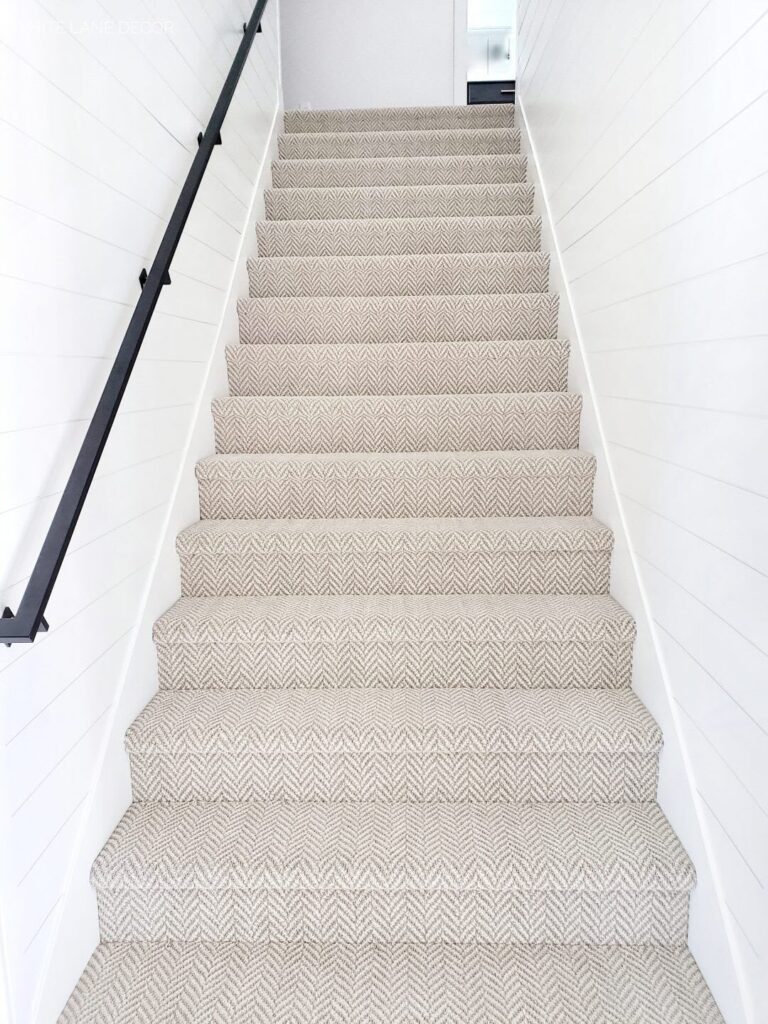
- Carpet on Stairs
- Carpet Store
September 2, 2025
How Is Carpet Installed on Stairs?
-

- Carpet Store
- Shag Carpet
July 16, 2025
What Are the Advantages of Shag Carpets?